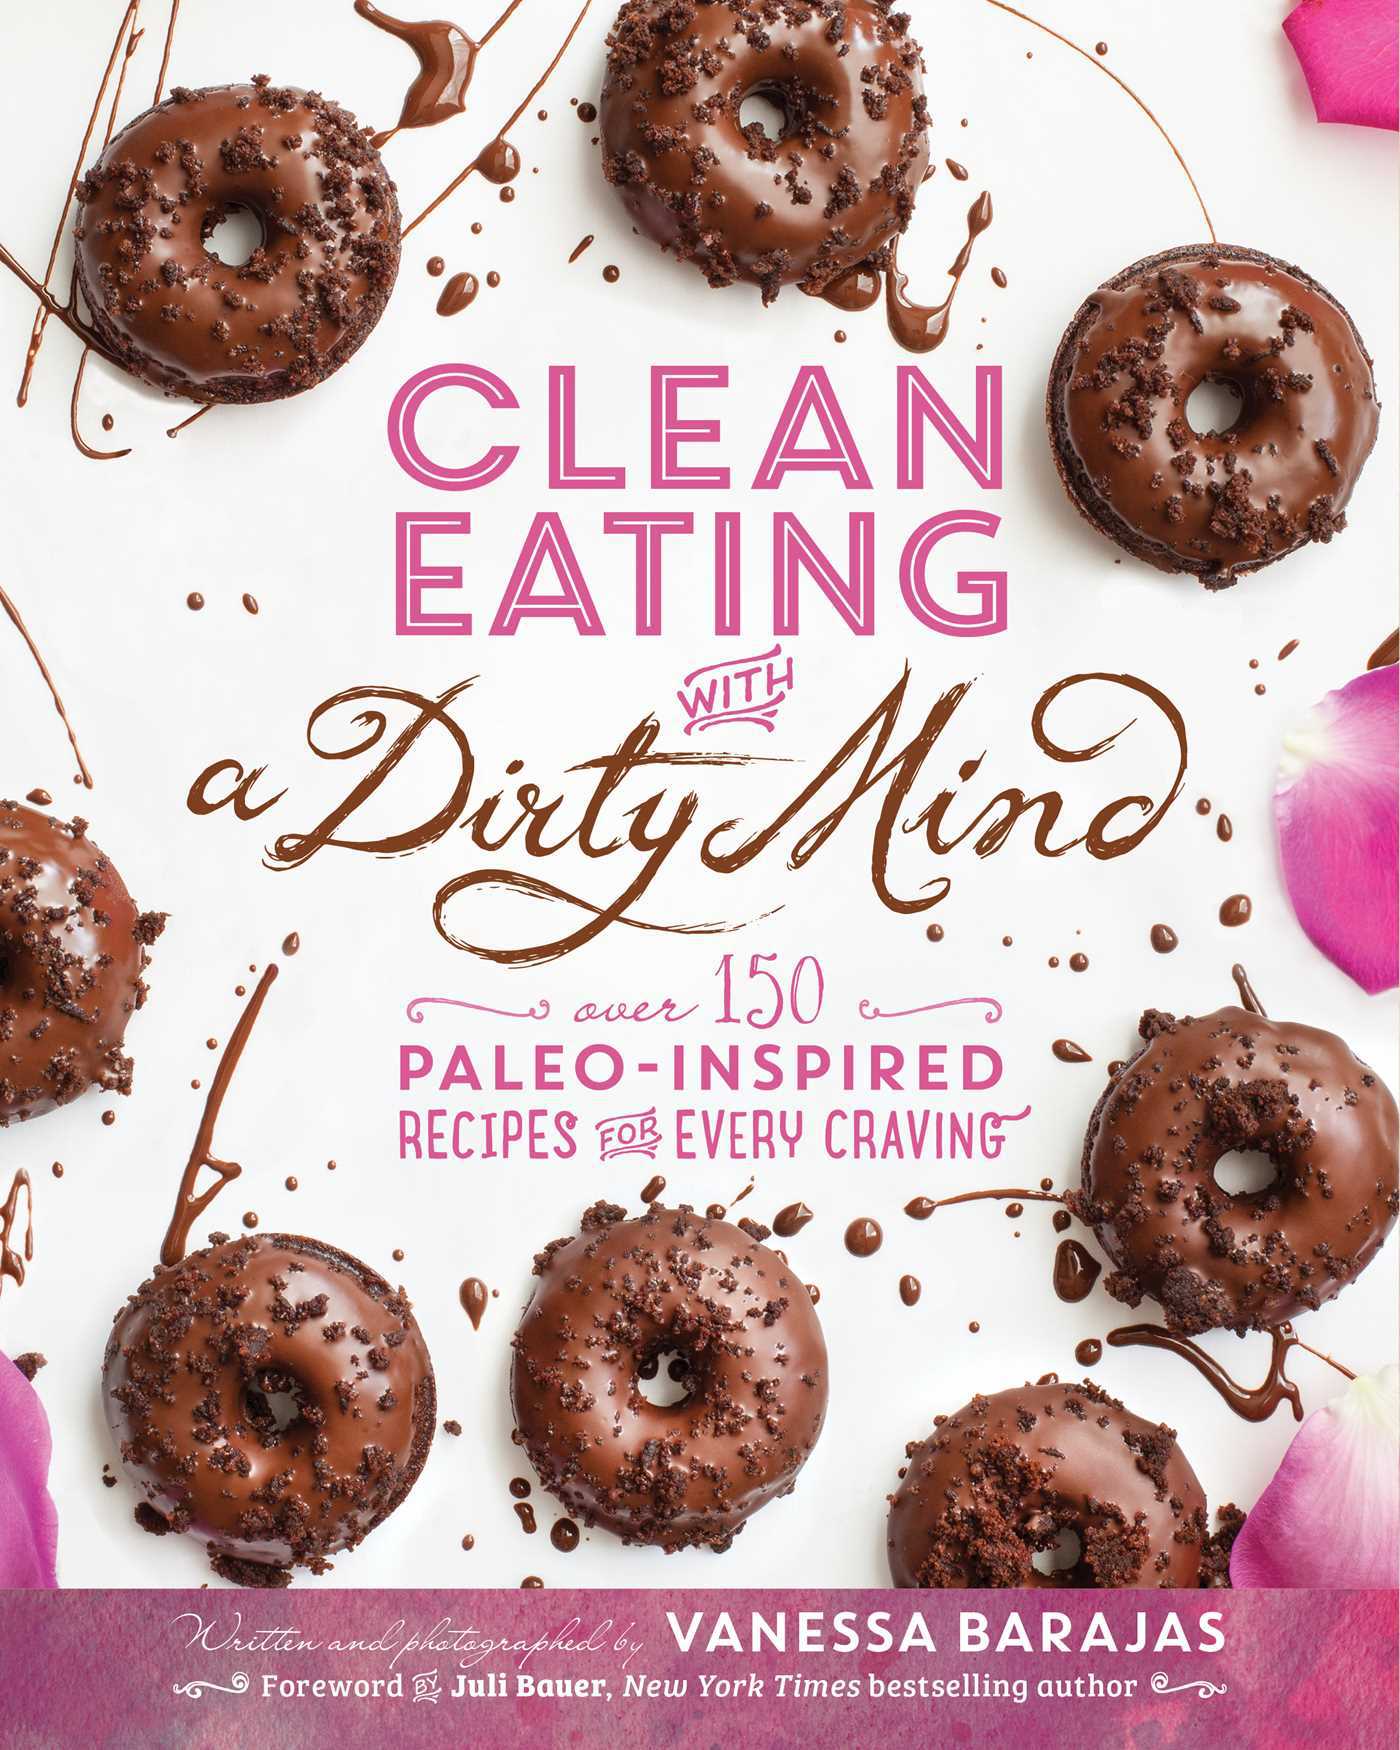
 I first met Vanessa a few months ago while in San Diego for a speaking engagement. As blogger/author/Paleo foodies do, we met up for a meal – brunch to be exact. We chowed down on some tasty gluten-free grub and yapped on about life, work, and the struggles of balancing it all out. A short couple of months later, I joined Vanessa and Juli Bauer together here in San Francisco for their book signing event, which was super fun. [See the video below that I shot totally randomly on my iPhone as a Periscope video of the event!]
I was lucky enough to see a preview of the book before it was released, and couldn't wait for you all to get this in your hands because Vanessa is one of the queens of paleo desserts.
And let me tell you, Clean Eating with a Dirty Mind does not disappoint.
There are over 150 recipes, each accompanied by a full-page photo, taken by Vanessa – which is a ton of work as I well know! This book was certainly a labor of love.
When you first go paleo, it’s a common notion that you’ll never be able to eat dessert again. Vanessa has set out to change this belief, and you’ll be more than covered with Clean Eating with a Dirty Mind.
 While the bulk of the recipes are indeed sweet treats, there’s also an entire chapter that includes recipes for breakfast, lunch and dinner. Biscuits and Cajun sausage gravy, French onion and bacon tart, bacon cheeseburger stuffed potatoes, and browned butter sage and goat cheese spaghetti squash are just a few of the unbelievably creative recipes from this section.
But let’s get to the sweets, because I know that’s what you’re all interested in.
Skillet brownie sundae with brown sugar bacon crumbles. Chocolate-dipped potato chips. Cookie dough cups. Browned butter caramel banana tart. Strawberry cheesecake cake. Eggnog cupcakes. Paleo moonpies. Skillet cookie sundaes. Oh, and the entire chapter on ice-cream
I know. It’s insane. Seriously insane! I don't know how people do this kind of recipe development because 1) you all know about my baking skills (or lack thereof), and 2) I think making these treats over and over to perfect them would send me over the edge – she must have some serious willpower!
One of my favorite sections of the book is right up front – Part One: The Essentials. Vanessa easily explains what the paleo diet is all about, discusses if dessert is even paleo (spoiler alert: it depends), covers all the kitchen equipment you’ll ever need, and then she dives into the various ingredients that she uses throughout the book. Trust me, you do not want to skip these chapters!
So, I was flipping through and dog-earing pages, I couldn’t decide what to get posted up here to the blog. Luckily for you all, I have an amazing team to help me handle this (I told you I don't bake – and making candy also isn't my strong suit…) – so we've got this recipe ready for you, plus another one that's a great way to use this toffee to take another, seasonal pumpkin treat to a whole other (insane) level.
My team hadn’t made homemade toffee before, but they said it was surprisingly easy. You will need a candy thermometer so make sure to pick one up if you don’t own one already!
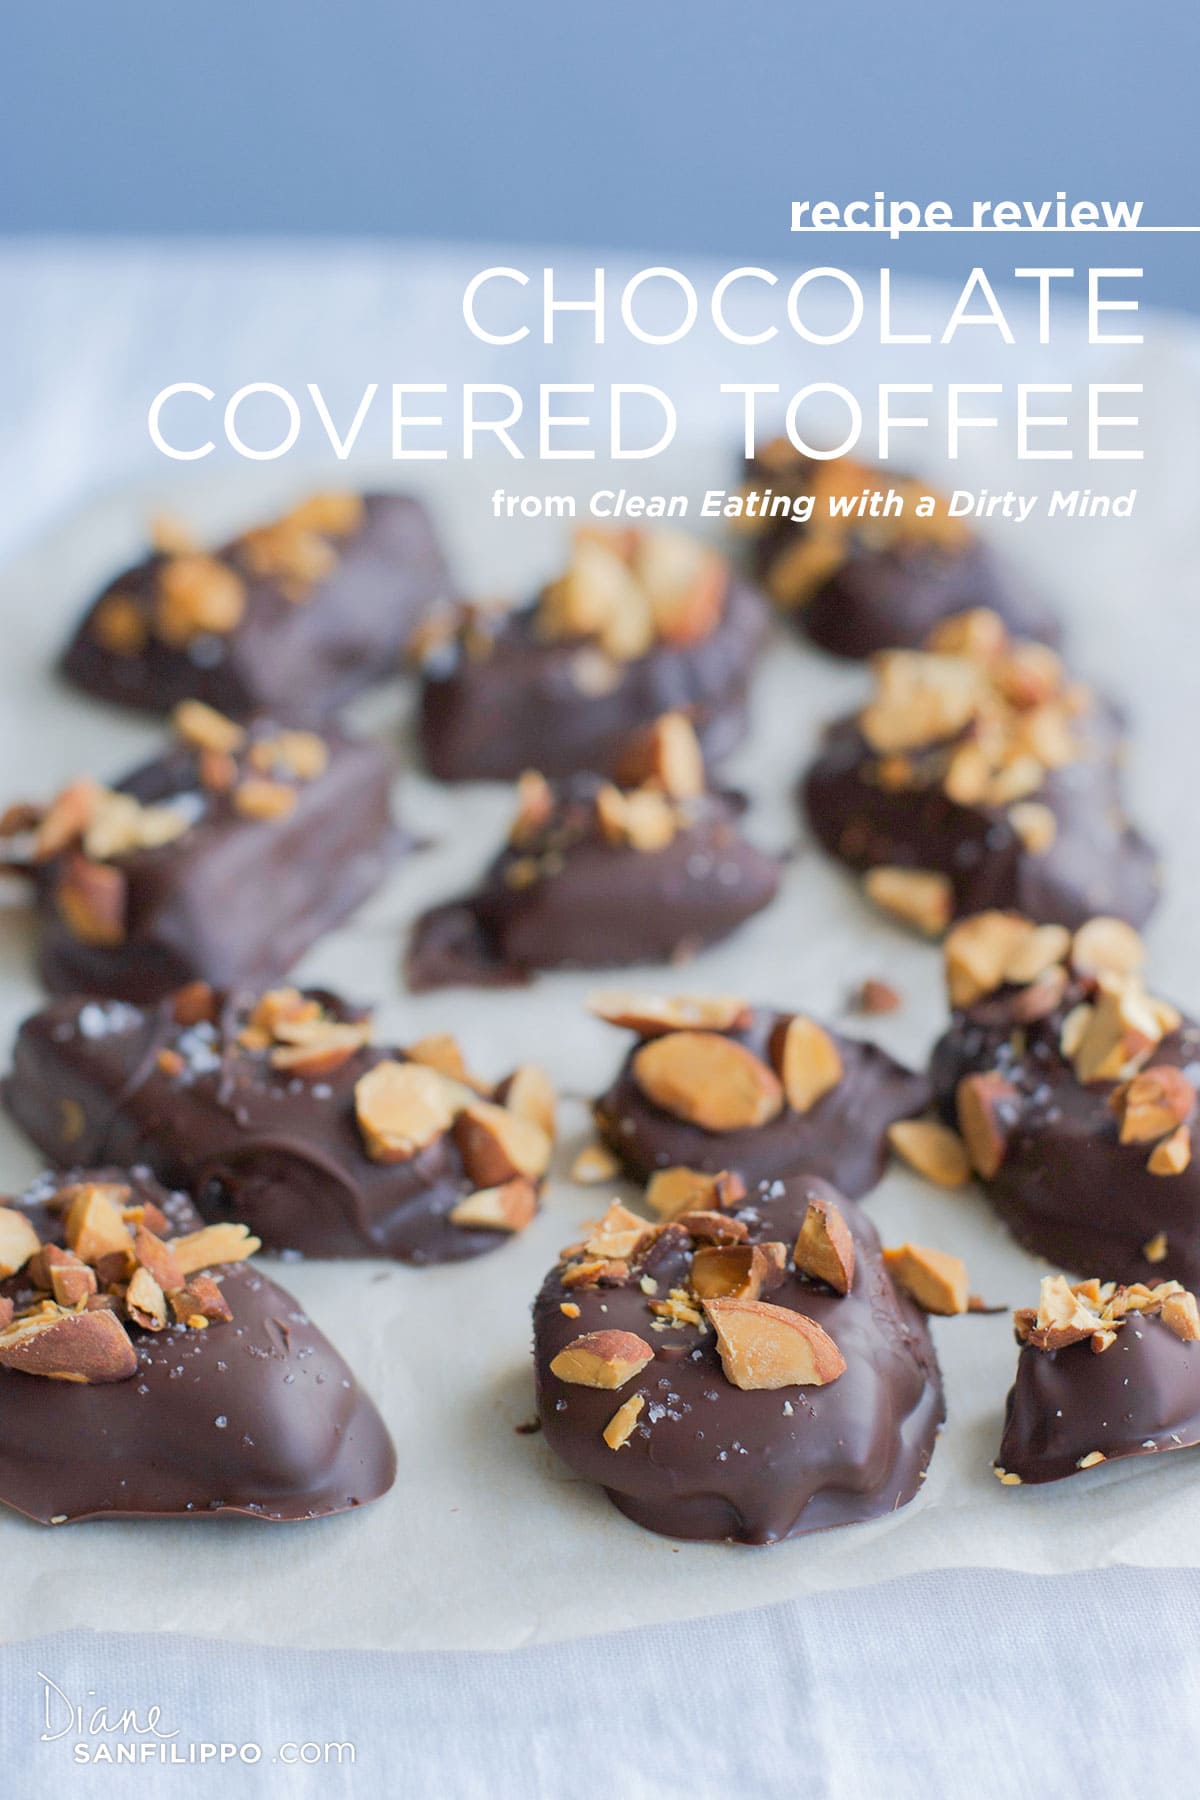
Chocolate Covered Toffee
(from Vanessa Barajas' Clean Eating with a Dirty Mind)
grain-free • gluten-free • egg-free • nut-free • seed-free • nightshade-free • seafood-free
This recipe took a few tries to get right, but was so worth the effort. It tastes just like real toffee. You can eat it plain or get creative, like I did, and dip it in all kinds of fun things, like nuts and chocolate. It would be great to make around the holidays and put in little gift bags for your friends and neighbors. Look how nice you are!
There are two options for coating the toffee: dipping individual pieces in melted chocolate so that they are completed coated or using the heat of the toffee to melt the chocolate on the surface, right in the pan. Though more time-consuming, I prefer to hand-dip individual pieces because the result reminds me of Skor and Heath bars (drool). The latter method makes more of a toffee bark. Try it both ways and see which you prefer!
PREP TIME: 5 minutes
COOKING TIME: 30 minutes
SETTING TIME: 1 hour
SERVINGS: 1 dozen 2-inch pieces
FOR THE TOFFEE
- 1 cup (150 g) coconut sugar
- 2 tablespoons water
- 1/2 teaspoon vanilla extract
- 1/4 teaspoon fine-grain sea salt
- 8 tablespoons (4 ounces/113 g) salted butter, cubed
FOR THE COATING
- 1 (12-ounce/340-g) bag chocolate chips
- 1/2 cup (65 g) unsalted dry-roasted almond pieces (optional)
SPECIAL EQUIPMENT
Preparation
Line a 2-quart (2-L) oblong glass baking dish with parchment paper; set aside.
In a large heavy-bottomed saucepan, combine the coconut sugar, water, vanilla, salt, and butter, in that order. Turn on the heat to medium-high and stir the ingredients together in one direction, so the butter doesn’t separate, until the butter has completely melted and the ingredients are fully combined. Stop stirring and let the mixture come to 300F (148C), or the hard crack stage on a candy thermometer. Once it reaches temperature, remove from the heat and pour into the parchment-lined baking dish. If you’re making toffee bark, jump ahead to Step 5.
Place the toffee in the refrigerator for 1 hour to harden. After about 45 minutes, melt the chocolate chips in double boiler over low heat or in a heatproof bowl set over a pan of gently simmering water. Stir frequently using a rubber spatula until the chocolate is completely melted.
Line a baking sheet with parchment paper. Once the toffee has hardened, break it into pieces using your hands or a knife. Use a candy-dipping fork or a plastic fork with the two middle prongs broken off to dip a piece of toffee into the melted chocolate, turning it over until completely coated on all sides. Let the excess chocolate drip back into the bowl and place the chocolate-covered toffee piece on the parchment-lined baking sheet. Sprinkle with the almond pieces. Repeat this process until all the toffee pieces are coated. Refrigerate for at least 20 minutes to set the chocolate.
To make chocolate-covered toffee bark: Sprinkle the chocolate chips over the hot toffee right after transferring it to the baking dish. Let the chocolate sit for a few minutes until the heat from the toffee melts it. Use a rubber spatula to spread the chocolate evenly, then sprinkle the almond pieces over the chocolate. Refrigerate for 1 hour or until hardened. Once hardened, break into pieces using your hands or a knife.
Store any remaining toffee covered in the refrigerator for up to 1 week.
Make Ahead:
Toffee—3 days ahead (For individually dipped pieces, not the bark)
Notes: To make this nut-free, omit the almonds from the coating. Keep an eye on the thermometer as the toffee mixture boils. It will reach 300F (148C) a lot faster than you think! Heating the toffee beyond 300F (148C) will give it a burned taste.
This recipe and over 150 others can be found in Vanessa Barajas' Clean Eating with a Dirty Mind cookbook!
Diane Sanfilippo / Balanced Bites, LLC is a participant in the Amazon Services LLC Associates Program, an affiliate advertising program designed to provide a means for sites to earn advertising fees by advertising and linking to amazon.com

